Without Warner Transmission
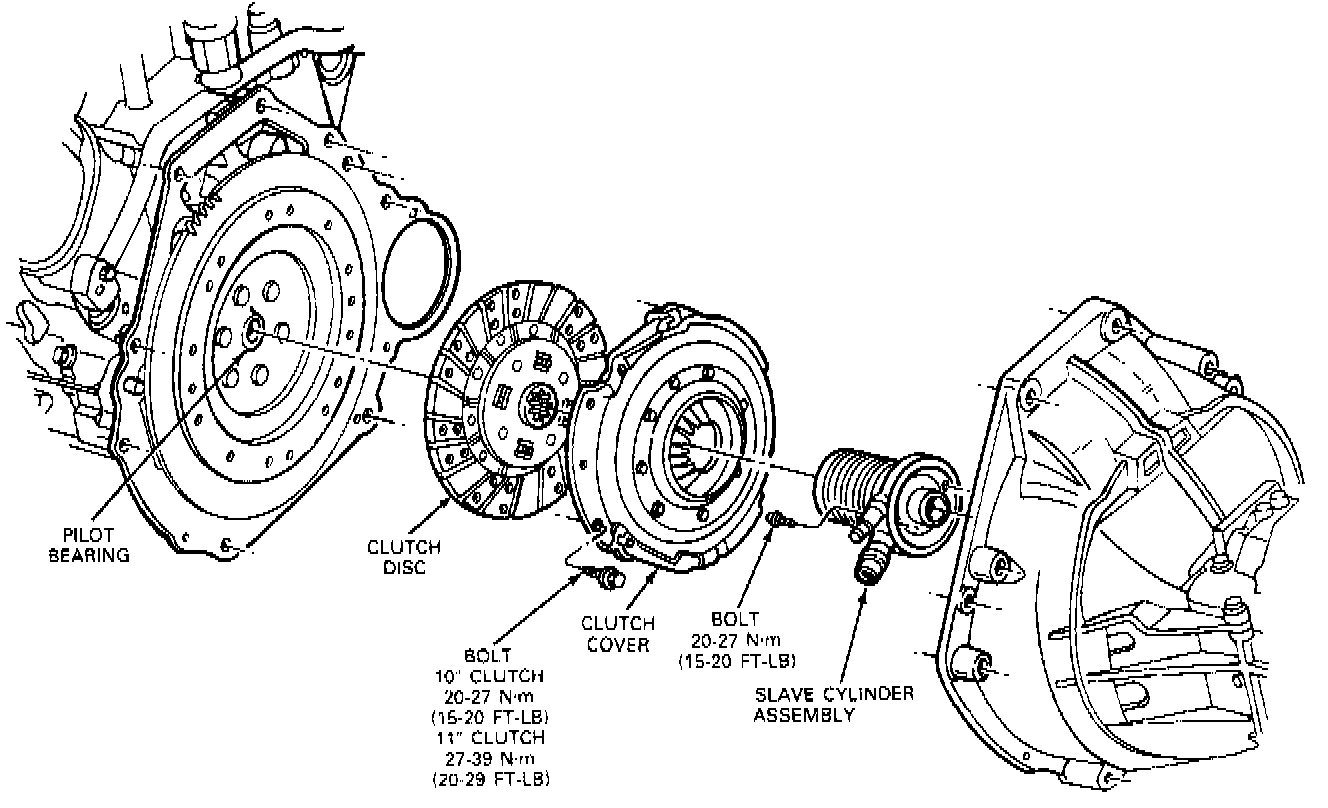
Single-Disc-Type Clutch
Standard Disc and Pressure Plate Assembly-
10.0 lnch/11.0 lnch/12.0 Inch
Removal
1. Disconnect the battery negative cable.
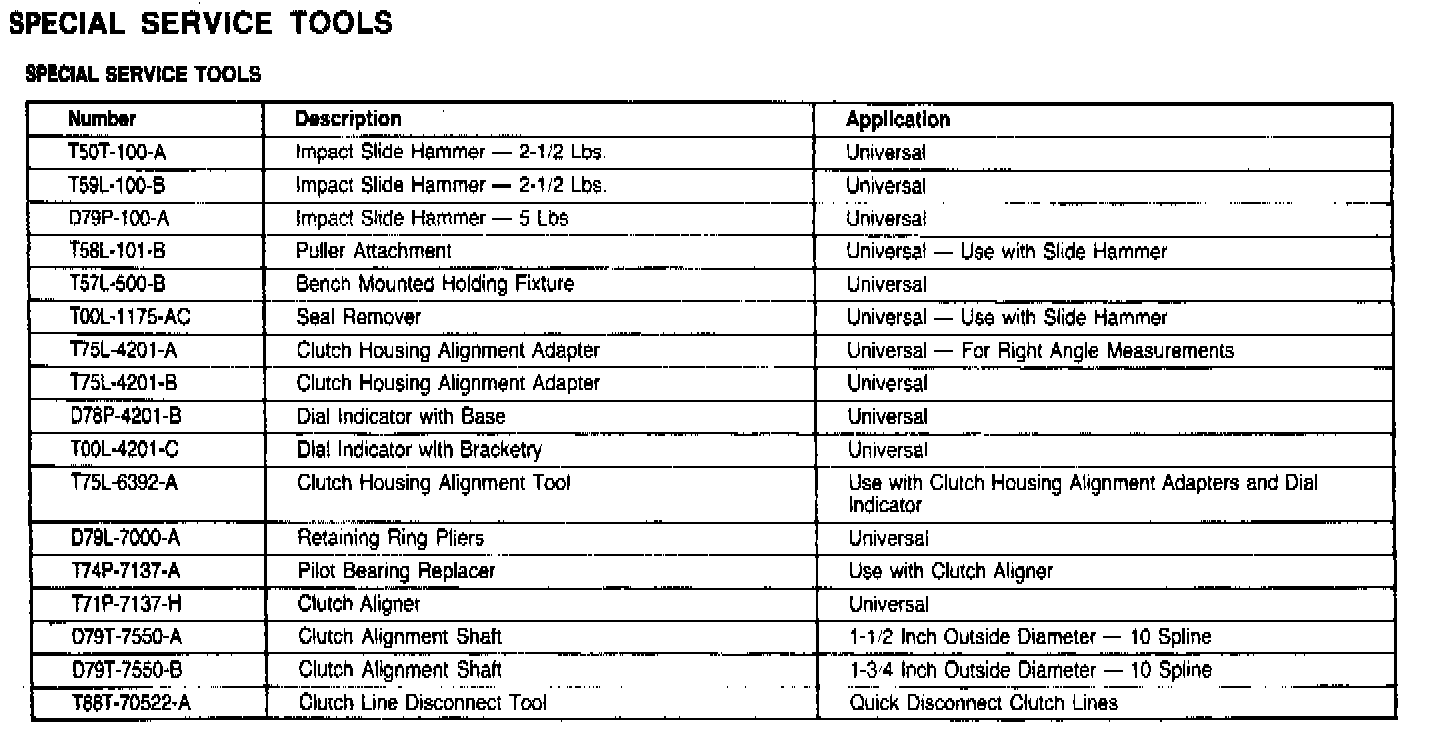
2. Remove clutch slave cylinder, or the hydraulic line quick disconnect using quick disconnect tool T88T-70522-A.
3. Remove the release lever if so equipped.
4. Remove the dust cover it so equipped.
5. Remove transmission.
6. Mark the assembled position of the pressure plate and cover to the flywheel (for re-assembly).
7. Remove the pressure plate and cover assembly and the clutch disc from the flywheel.
Installation
1. Position the clutch disc on the flywheel so that the Clutch Alignment Shaft D79T-7550-A or equivalent can enter the clutch pilot bearing and align the disc.
2. When re-installing the original pressure plate and cover assembly, align the assembly and flywheel according to the marks made during the removal operations. Position the pressure plate and cover assembly on the flywheel, align the pressure plate and disc, and install the retaining bolts that fasten the assembly to the flywheel. Tighten the bolts to specification and remove the clutch disc pilot tool.
3. Clean and lubricate the release lever pivot stud.
4. Reinstall the transmission.
5. Correctly position the release lever (if so equipped) in its release bearing hub, and align with the pivot stud. Push inward on the lever until it snaps into position.
6. Reinstall the external slave cylinder, or attach the hydraulic tube quick connect fitting.
7. Install the dust boot if so equipped.
8. Install the starter motor.